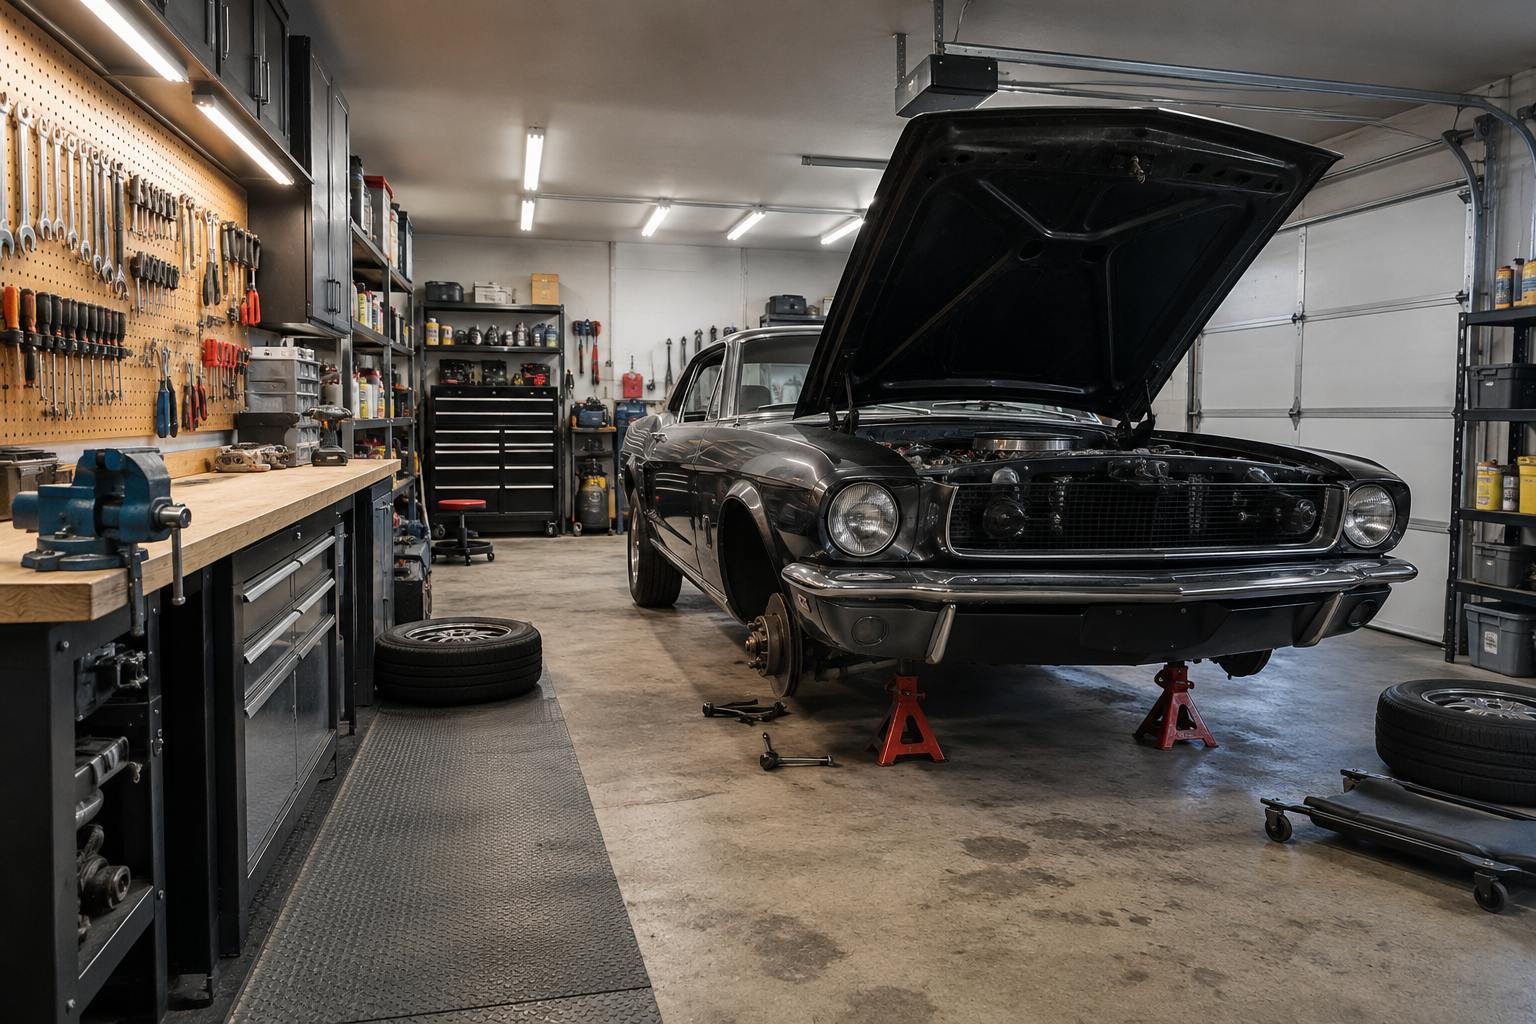

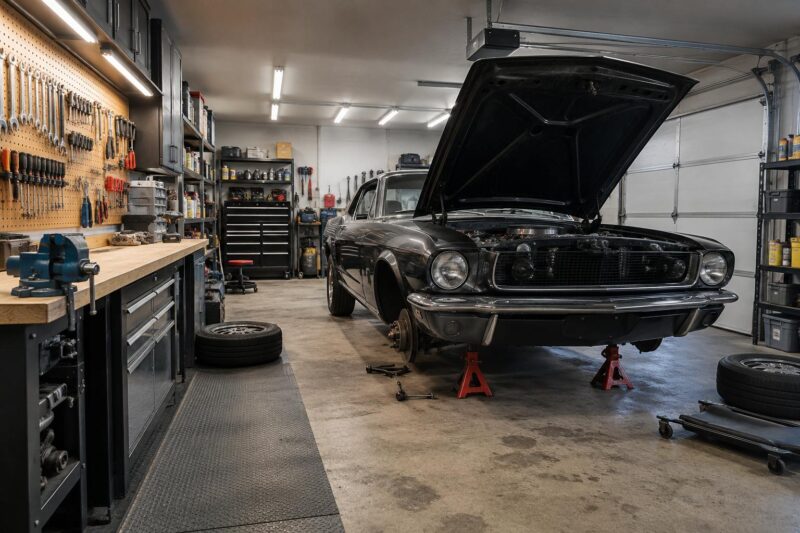
A garage with a concrete floor, one ceiling light and a collection of forgotten tools is not an ideal place to repair a car. There is nowhere to put the parts you remove, the lighting is poor, and every job ends with a search for the socket you had in your hand five minutes earlier.
Fortunately, building a useful home workshop does not require a large garage or expensive professional equipment. A solid workbench, proper lighting, safe lifting equipment and organised tool storage will cover many routine repairs. For older cars, a few additional changes make long restoration projects much easier to manage.
The smartest approach is to build the workshop around the jobs you actually plan to do. Changing oil and brakes calls for a different setup from rebuilding an engine or restoring rusty bodywork.
Start by Measuring the Garage and Planning Where Everything Goes
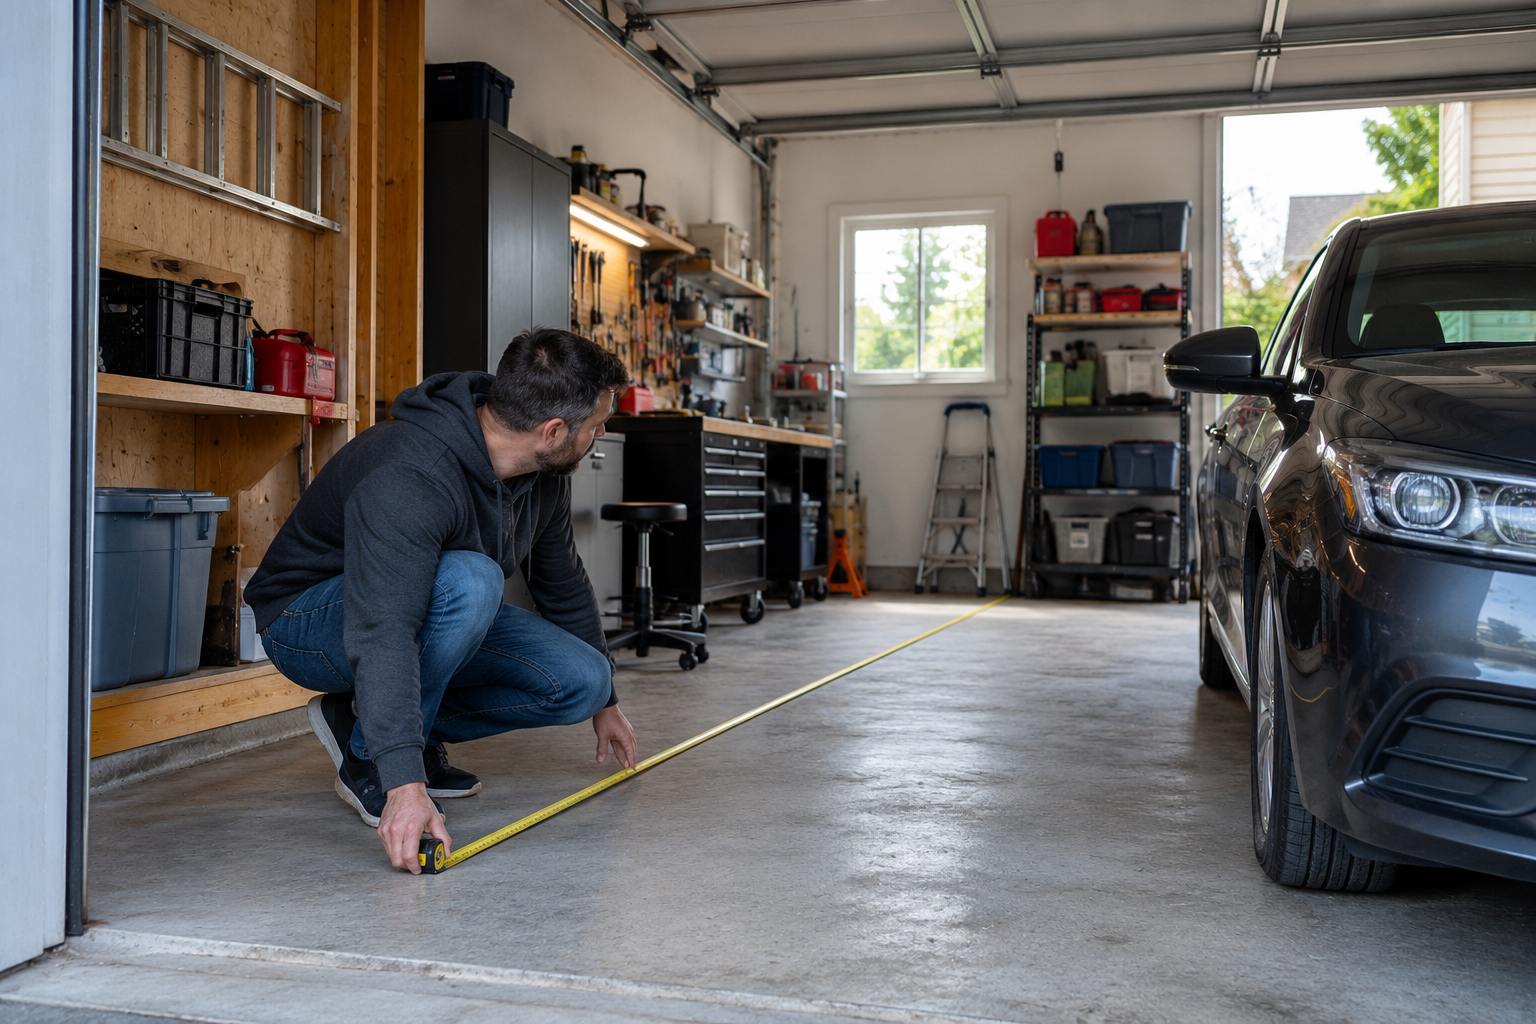
Before buying equipment, park the car inside and open the driver door. Check how much room remains between the vehicle and the walls, and how easily you can walk around the front and rear.
A garage might have enough floor space for the car but very little room for repairs. Opening the hood, removing a wheel or carrying a heavy component becomes difficult when shelves and cabinets block the working area.
- Back wall – A workbench with a vise, tool storage and electrical outlets.
- One side wall – Shelves for spare parts, fluids and equipment that is not used every day.
- Opposite wall – Shallow cabinets or wall-mounted tools that leave room to open the car door.
- Floor – Open space for moving a trolley jack, placing axle stands and removing wheels.
Measure the height of the garage as well. A low ceiling can prevent the use of certain lifting equipment, even when the floor has sufficient space.
If the garage doubles as household storage, move bicycles, garden equipment and rarely used furniture to another location. Restoring a car becomes frustrating when every repair requires rearranging half the garage.
Build a Workbench That Can Handle Real Car Repairs
A lightweight desk is not a substitute for a workshop bench. Car parts are heavy, and removing a seized bolt can place considerable force on the surface.
For a home workshop, a bench around 150 to 180 cm wide and 60 to 75 cm deep gives room for a vise, tools and a component being repaired. Height should suit the person using it, with enough space to work without constantly bending over.
A sturdy timber top is suitable for many mechanical jobs. Steel-topped benches are easier to clean after oily work, although the surface can damage delicate components unless protective mats are used.
Fix the bench securely so it cannot tip or move when using a vise. Heavy storage cabinets also need suitable anchoring.
Place frequently used tools directly above or beside the bench. A magnetic strip can hold commonly used spanners, while a drawer unit keeps sockets and smaller tools organised.
Leave part of the work surface empty. A bench covered with spare parts, old packaging and half-finished jobs quickly becomes unusable.
Choose Garage Lighting That Lets You See Under the Car
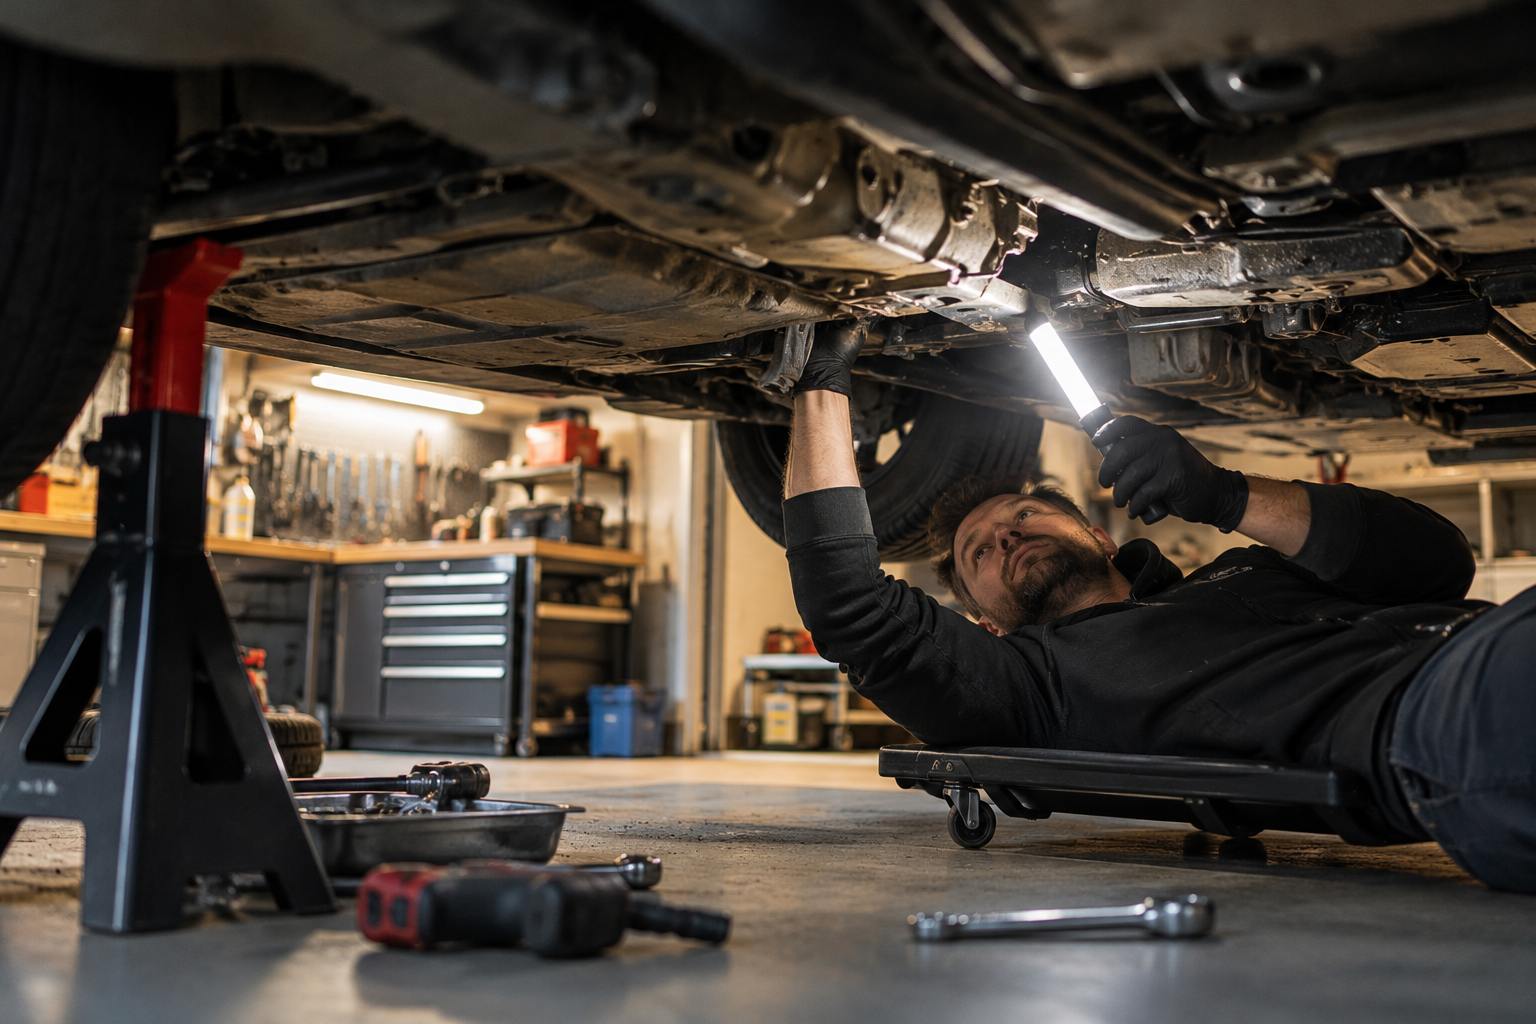
A single bulb hanging from the middle of the ceiling creates shadows exactly where you need light. The engine bay may be visible, but the underside of the dashboard, wheel arches and lower suspension components remain difficult to see.
LED workshop lights are an effective upgrade because they provide strong illumination without producing the heat associated with older halogen work lamps.
Install ceiling fixtures along the working area rather than placing every light directly above the centre of the car. Positioning lights on both sides reduces shadows when the hood is open.
- A rechargeable inspection lamp for checking behind the engine and inside wheel arches.
- A magnetic work light for illuminating metal components.
- A headlamp for repairs beneath the dashboard or inside the cabin.
For restoration work, choose lighting that makes scratches, dents and surface defects easy to see. A movable inspection light is particularly useful when checking prepared body panels before painting.
Electrical outlets deserve planning alongside the lights. A qualified electrician can assess the existing circuits, install suitable outlets and provide appropriate electrical protection for workshop equipment.
Improve the Walls, Floor and Garage Door Before Filling the Space With Tools
Bare concrete walls and an uneven floor can make a workshop cold, dusty and difficult to clean. Fixing those problems early is easier than working around cabinets and equipment later.
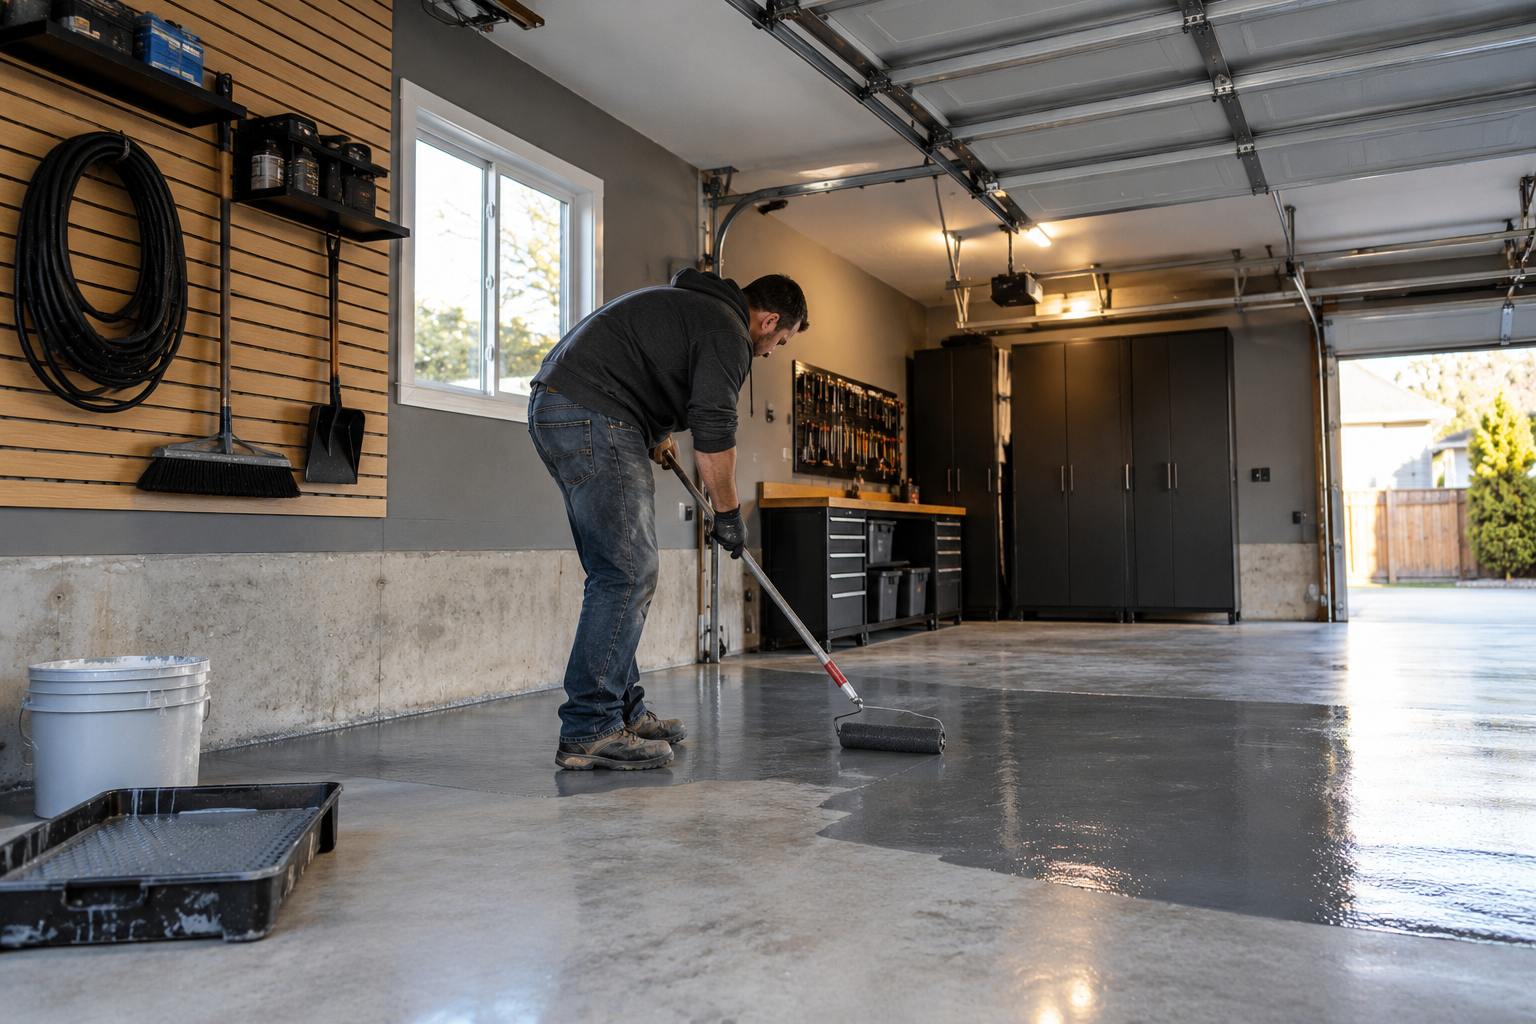
For the floor, start by repairing cracks and checking for moisture. A suitable garage floor coating can make oil and dirt easier to remove, but it must be compatible with the concrete and properly prepared.
Interlocking floor tiles are another possibility. They can improve the appearance of a garage, although vehicle weight, jack loads, chemical resistance and the risk of trapped moisture need consideration.
Walls can be painted in a light colour to improve visibility. Plywood panels are useful for mounting shelves and tool holders, provided the wall structure and fixings can safely support the load.
The outside of the garage deserves attention if the workshop is part of a restoration project at home. Replacing damaged exterior boards or adding suitable cladding can refresh an older detached garage without rebuilding it, provided the selected material meets the building requirements and is intended for exterior use.
Check the garage door seals before winter. Damaged seals allow rain, dust and cold air inside. A poorly fitted door can also create security problems when expensive tools and car parts are stored in the building.
Buy the Tools You Will Use Before Spending Money on Specialist Equipment
A home workshop does not need every tool found in a professional repair shop. Start with equipment for routine servicing, wheel removal and common mechanical repairs.
| Tool | Why You Need It |
| Metric and SAE socket sets | Removing nuts and bolts found on different vehicles |
| Combination spanners | Working where a socket will not fit |
| Torque wrench | Tightening fasteners to manufacturer specifications |
| Screwdrivers and pliers | Removing clips, clamps and small components |
| Breaker bar | Loosening tight fasteners with controlled force |
| Multimeter | Checking voltage, continuity and basic electrical faults |
| OBD-II scanner | Reading diagnostic trouble codes on compatible vehicles |
| Drain pan and funnels | Collecting and transferring fluids during servicing |
| Workbench vise | Holding components securely during repair |
Buy tools that fit the car you are restoring. Older American vehicles may require SAE sizes, while many European and Japanese cars use metric fasteners. Certain manufacturers also use Torx, hex and other specialised fittings.
For a clear starting point, our article on simple car maintenance tasks covers jobs that can be completed with a relatively small collection of tools.
Purchase specialist tools when a job actually calls for them. An expensive engine hoist makes little sense if you only plan to change oil, filters and brake pads.
Get the Right Equipment for Lifting a Car Safely
Safe lifting equipment deserves priority over almost every workshop accessory. A hydraulic trolley jack raises the vehicle, but it must never be the only support when someone works underneath.
Use correctly rated axle stands on a firm, level surface and place them at the support points specified by the vehicle manufacturer. Wheel chocks help prevent movement, but they do not replace proper lifting support.
The Health and Safety Executive warns about working beneath vehicles supported by unsuitable equipment or placed on unstable surfaces.
For wheel and brake work, a trolley jack, suitable stands, wheel chocks and a torque wrench form the basic equipment set. Check the lifting capacity against the vehicle before buying.
Never crawl beneath a vehicle supported only by a jack. Avoid lifting on sloping driveways, weak surfaces or flooring that cannot safely carry concentrated loads.
A professional vehicle lift requires additional planning. Ceiling height, concrete slab specifications, installation requirements and electrical supply must all suit the equipment. A lift should not be installed simply because there appears to be enough room.
Set Up a Separate Area for Car Restoration Projects
Restoring an old car involves far more loose parts than routine servicing. Door handles, trim clips, brackets, electrical connectors and interior fittings can disappear quickly when everything ends up in one large box.
Use labelled containers for each part of the vehicle. For example, keep the front suspension hardware separate from interior screws and dashboard fittings.
Take photographs before removing complicated assemblies. A few clear images of wiring routes, hose positions and bracket locations can save hours during reassembly.
For larger projects, use shelves for removed components and keep fragile parts away from the main workbench. Glass, painted trim and plastic interior panels are easily damaged when stored beneath heavy tools.
If you are rebuilding an engine, a sturdy engine stand provides a secure way to support the assembly. The engine must be mounted using the correct hardware and within the rated capacity of the stand.
Before ordering engine parts, confirm the exact engine version. Our explanation of how to identify your car engine covers the vehicle identification number, manufacturer labels and other identification methods.
Plan Ventilation Before Welding, Grinding or Painting
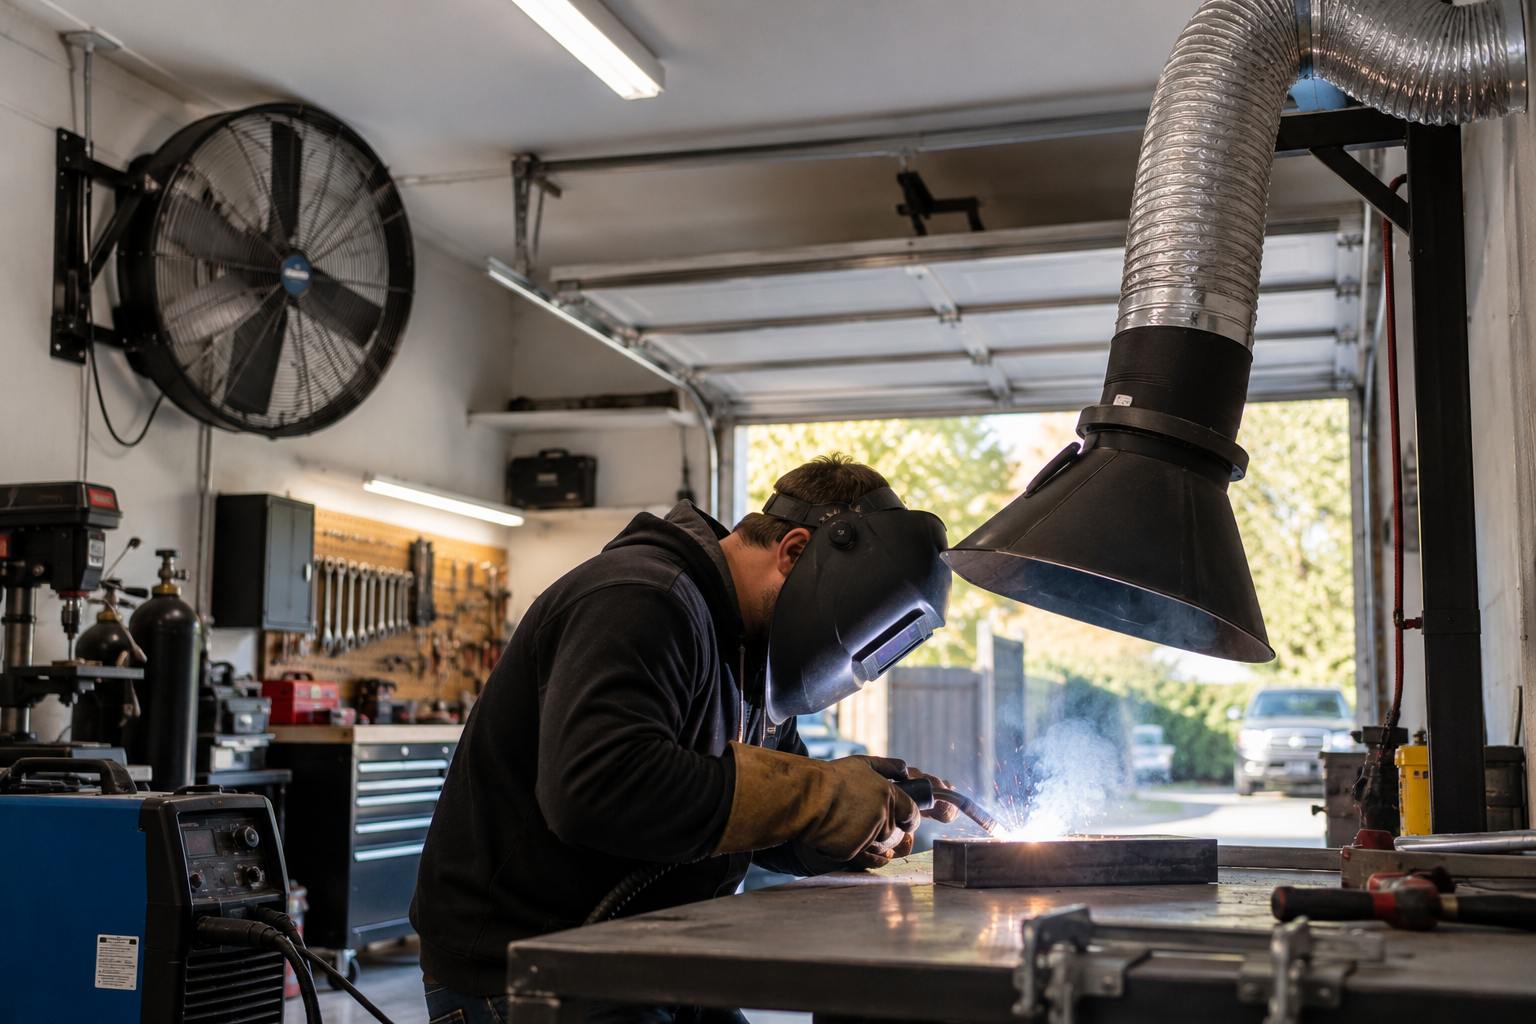
Opening the garage door is not enough to make every automotive job safe.
Running a petrol or diesel engine inside a garage can create dangerous carbon monoxide levels. Vehicle exhaust should be discharged outdoors through a properly designed extraction system, and the safest choice for routine work is to avoid running the engine indoors whenever possible.
Welding and grinding introduce other hazards. Sparks can ignite upholstery, fuel residues, solvent containers and materials hidden inside body panels.
The HSE guidance on vehicle welding identifies fire risks and harmful fumes, especially when working near fuel systems or coated metal surfaces.
Spray painting also requires suitable extraction and respiratory protection. Ordinary dust masks do not protect against many hazardous paint vapours, and some automotive coatings require specialist respiratory equipment.
A basic domestic garage should not be treated as a professional spray booth. Major painting jobs involving hazardous coatings are better handled in a properly equipped facility.
Keep a suitable fire extinguisher accessible and store flammable liquids according to their labels and local fire regulations. Never weld or cut into a fuel tank or container that may contain flammable residue.
Organise Spare Parts and Fluids So the Workshop Stays Usable
Even a spacious workshop becomes frustrating when used parts and containers cover the floor.
Keep clean replacement parts in labelled boxes and store oily components separately. Put small fasteners into bags marked with the location they came from rather than relying on memory.
Motor oil, coolant, brake fluid and solvents should remain in clearly labelled containers suitable for the material. Never use ordinary drink bottles for automotive chemicals.
Collect used fluids in appropriate containers and take them to authorised recycling or disposal facilities. The EPA provides instructions for recycling used motor oil and preventing contamination during storage and transport.
Keep a roll of absorbent material and a spill kit within reach of the work area. Clean spills promptly, particularly where oil could make the floor slippery.
What Should You Spend Money on First?
A workshop built in stages is easier to plan than one filled with equipment before the first repair begins.
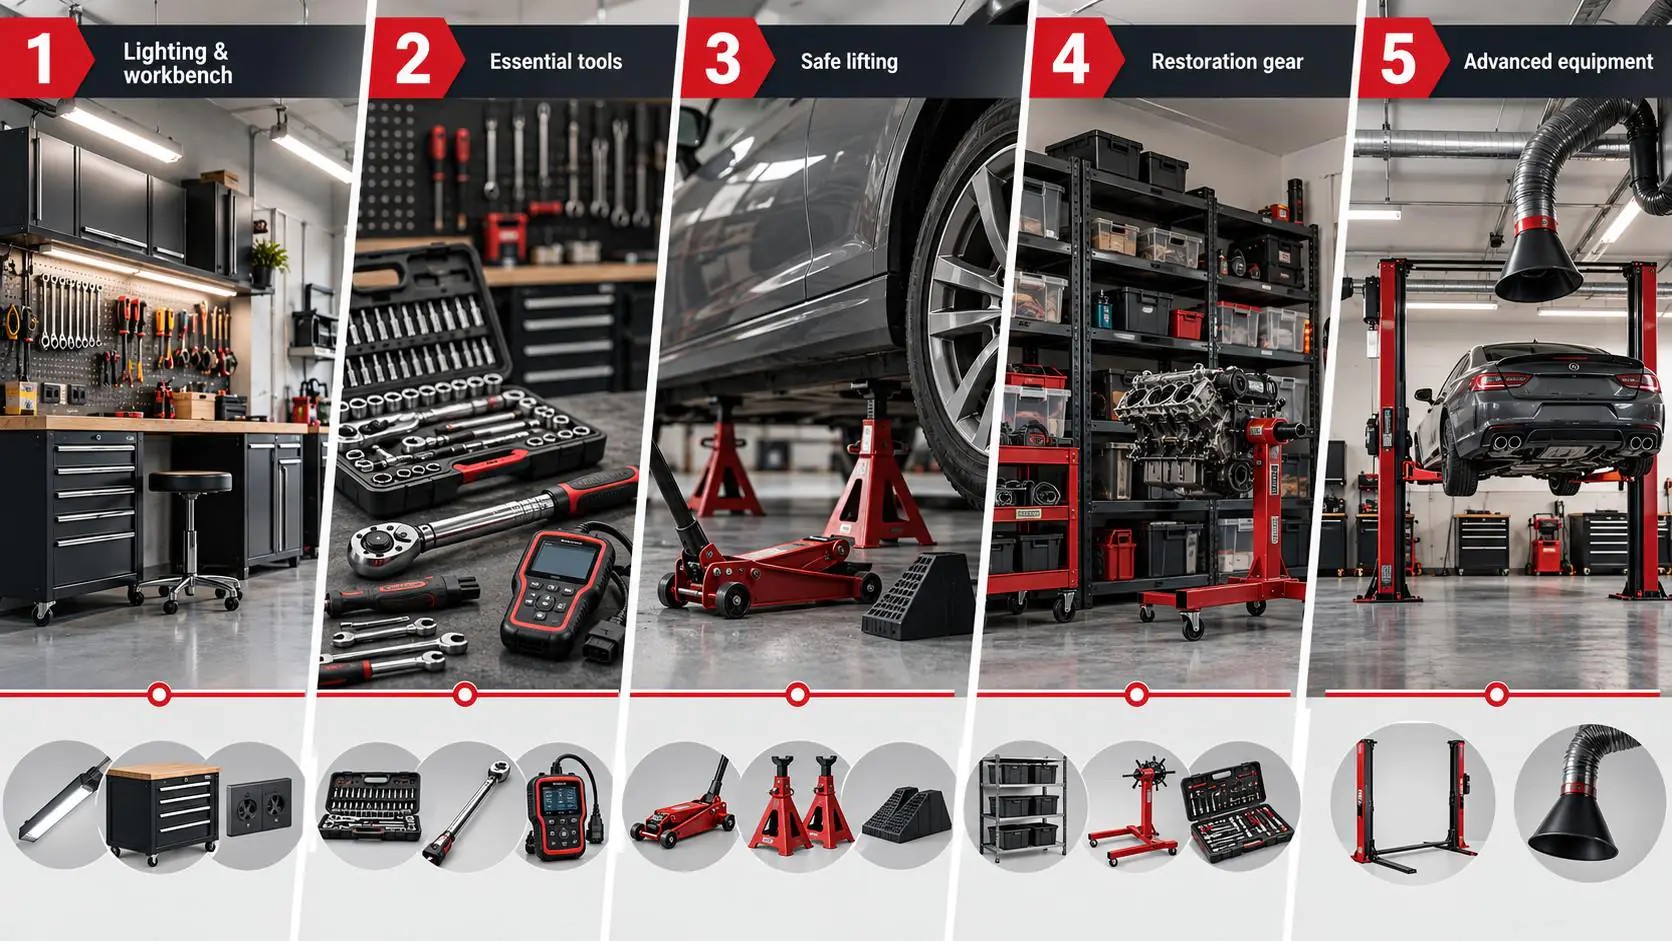
| Stage | Equipment or Improvement | Jobs It Supports |
| 1 | Lighting, workbench, storage and electrical improvements | Routine servicing and bench repairs |
| 2 | Hand tools, torque wrench and diagnostic scanner | Basic mechanical and electrical work |
| 3 | Trolley jack, axle stands and wheel chocks | Wheel removal and permitted under-vehicle work |
| 4 | Parts shelving, engine stand and specialist tools | Longer restoration and component rebuilding projects |
| 5 | Professional lifting equipment or dedicated extraction | Advanced work requiring suitable facilities and installation |
Start with the first two stages if the garage will mainly be used for servicing. Add safe lifting equipment before attempting work requiring access beneath the vehicle.
Restoration projects justify extra storage earlier than routine repairs because removed parts may remain off the car for weeks or months.
Before buying expensive equipment, measure the available floor space again. A tool cabinet that blocks the car door or a machine that leaves no working room can make the garage harder to use.
A Garage Workshop Should Grow With the Cars You Work On
A garage does not need a vehicle lift, wall-to-wall tool cabinets or expensive machinery on the first day. Proper lighting, a stable bench, organised hand tools and safe lifting equipment already make a major improvement over working on a driveway.
For car restoration, add labelled parts storage and dedicated space for components removed from the vehicle. Leave room to move around the car, carry heavy parts and open doors fully.
Buy each new tool for a job you actually intend to complete. Over time, the workshop will develop around the repairs and restoration work you enjoy, without filling the garage with equipment that rarely gets used.