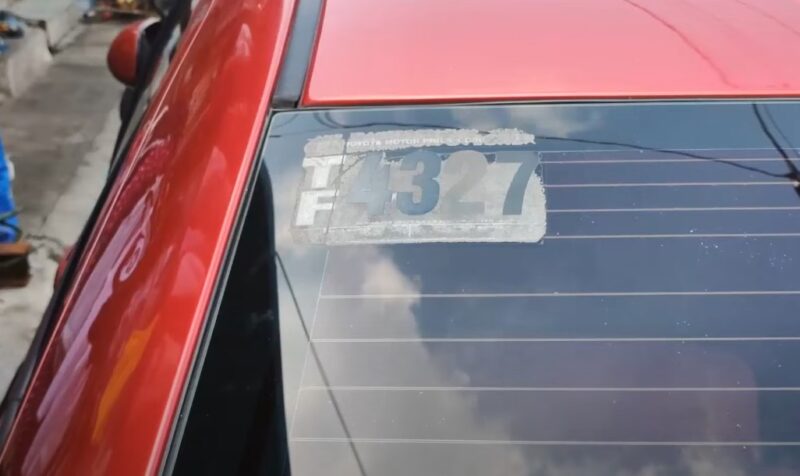
So, you’re staring at that stubborn sticker on your car window, thinking, “How on earth am I going to get this off without scratching the glass?”
Whether it’s a faded parking permit, a dealer’s advertising sticker, or a decorative decal you’re over, removing stickers from a car window can feel like a real pain.
But don’t worry, I’m here to guide you through the process step by step. It’s something most car owners will face eventually, but you can absolutely tackle it without damaging your glass.
I’ve had to do it a few times myself and trust me, with the right approach, it’s not as daunting as it seems.
Key Methods
- Use heat (hairdryer/heat gun) to soften adhesive for easier peeling.
- Scrape gently with a razor blade or plastic scraper at a 45-degree angle to avoid scratches.
- Remove residue with rubbing alcohol, adhesive remover, or soap and water.
Tools You’ll Need
Before jumping into the process, you must first gather all the tools and materials. This will make the process much smoother and quicker. Here’s a list of essentials:
- Razor blade or plastic scraper: A single-edged razor works wonders, but a plastic scraper is a safer bet if you’re worried about scratches.
- Rubbing alcohol or adhesive remover: Something like Goo Gone will break down the adhesive easily.
- Window cleaner: Any glass cleaner works to clean up once the sticker’s off.
- Dish soap and hot water: This helps soften up the adhesive if you don’t have fancy chemicals on hand.
- Paper towels or microfiber cloth: Handy for cleaning and drying up afterward.
- Hairdryer or heat gun: Heat is a game changer for loosening sticky stuff.
- Sponge or cloth: For applying adhesive remover or soap solution.
Step 1: Clean the Area Around the Sticker
I always start by cleaning the window before getting into the sticker removal itself. Grab your window cleaner and a soft cloth to remove any dirt or grime that might scratch the glass as you work.
Plus, you don’t want to mix dirt into whatever solution you’re about to use. A little prep makes the whole process feel less messy, and you’ll be able to see exactly what you’re working with.
Step 2: Loosen the Sticker with Heat
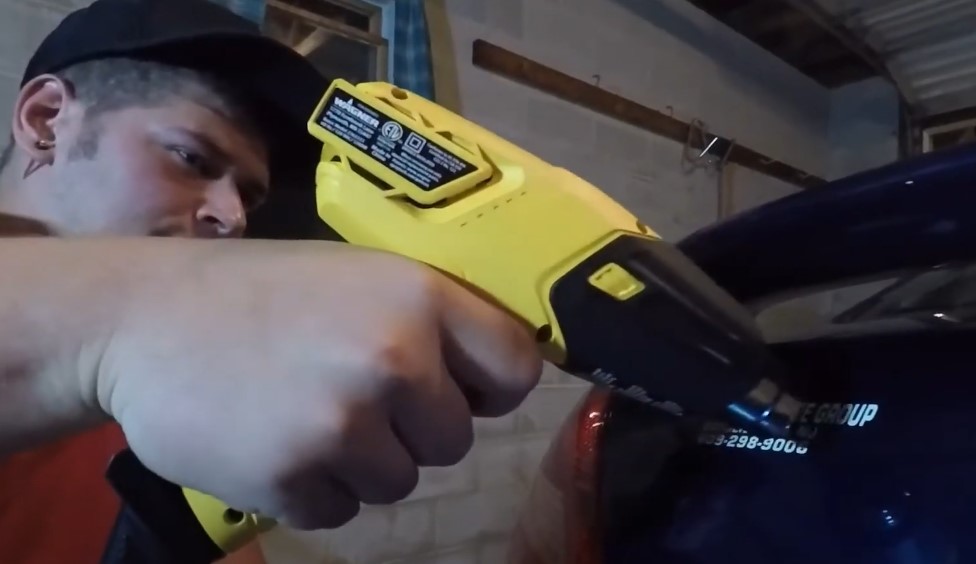
Next, get out your hairdryer (or heat gun if you’re fancy) and turn up the heat. The idea is to soften the adhesive behind the sticker so it peels off easier.
Hold the dryer a few inches from the sticker and move it around the edges, warming the whole thing for 30 seconds to a minute. Now, carefully start peeling from one of the edges.
If the sticker resists, give it another blast of heat. Patience is key here—the softer the adhesive gets, the easier your life will be.
Step 3: Scrape Away with a Razor Blade or Plastic Scraper
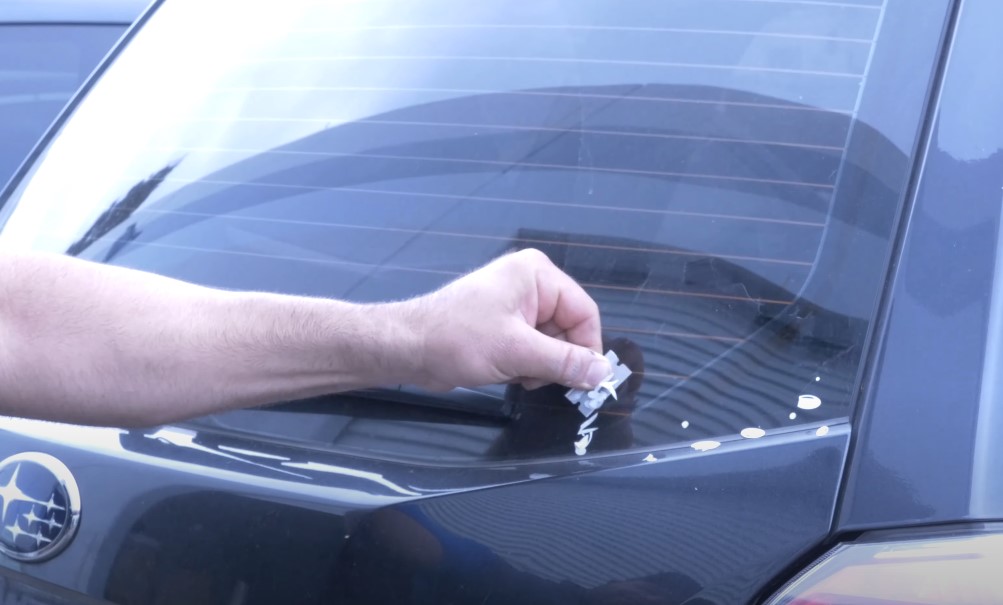
Once the sticker feels like it’s ready to peel, grab your razor blade (or plastic scraper). Hold it at about a 45-degree angle and gently scrape under one of the corners of the sticker.
If you’re feeling any major resistance, stop, apply more heat, and try again. I’ve learned through trial and error that scraping a warm sticker is miles easier than dealing with a cold, hard one.
Step 4: Get Rid of the Adhesive Residue
Even after you peel off the sticker, you’re likely to have some stubborn adhesive left behind. Enter rubbing alcohol or your trusty adhesive remover.
Dampen a cloth or sponge with the rubbing alcohol, then rub it gently over the sticky spots. You should see the adhesive start to break down fairly quickly. Let it sit for a minute, then wipe it away.
Alternative Sticker Removal Methods
What if you don’t have a razor or adhesive remover handy? Don’t worry, there are a few other ways to tackle the job.
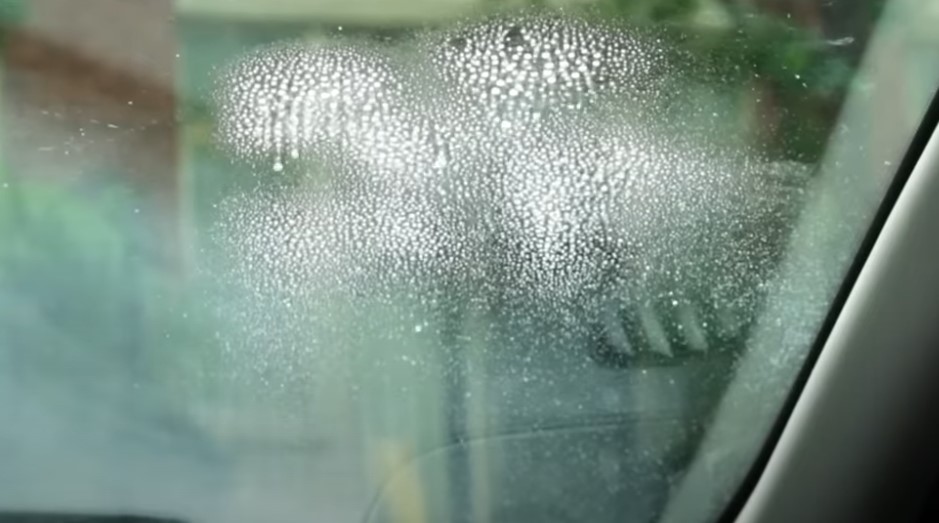
1. Soap and Water Method
For smaller or less stubborn stickers, soap and water can do the trick.
- Mix some dish soap with hot water.
- Soak a sponge or cloth in the mixture and wet the sticker thoroughly.
- Let it sit for a couple of minutes, then try peeling it off from one of the edges.
You can repeat the process if needed, but for light-duty sticker removal, this method works great.
2. Vinegar and Baking Soda Paste
I love this natural solution for when you don’t want to use harsh chemicals.
- Mix equal parts vinegar and baking soda until it forms a paste.
- Smear the paste over the sticker and let it sit for 5-10 minutes.
- Use a sponge to scrub the area in circular motions until the adhesive starts to come off.
It’s a bit messier but works just as well for those looking for a chemical-free solution.
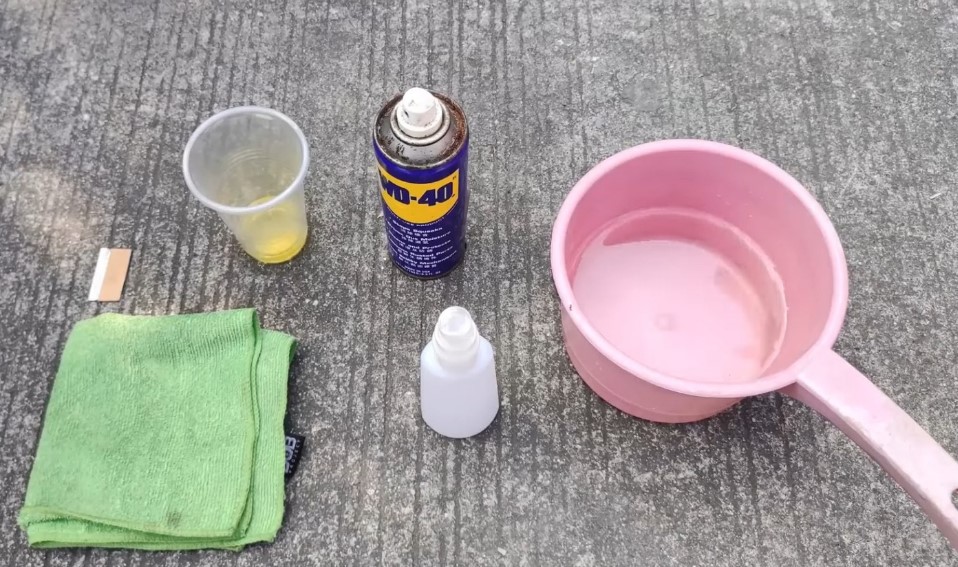
3. WD-40

WD-40 is another handy option, but be cautious! You don’t want to get it on your car’s paint.
- Spray a small amount directly onto the sticker.
- Let it soak in for a few minutes to break down the adhesive.
- Peel the sticker off, and don’t forget to clean the area afterward with soap and water.
What to Do with Stubborn Stickers
Sometimes, no matter how careful you are, some stickers just won’t budge. If you’re dealing with one of these stubborn ones, here’s what I’d recommend:
- Reapply heat: Sometimes you’ll need to go through the heating and scraping process a few times before the sticker finally gives in.
- Use a combination of methods: I’ve had success combining heat with adhesive removers, alternating between them until the adhesive finally breaks down.
- Be cautious with chemicals: If you’re using stronger chemicals like Goo Gone or WD-40, make sure not to get them on other parts of the car, especially the paint. They can leave marks or even damage the finish if you’re not careful.
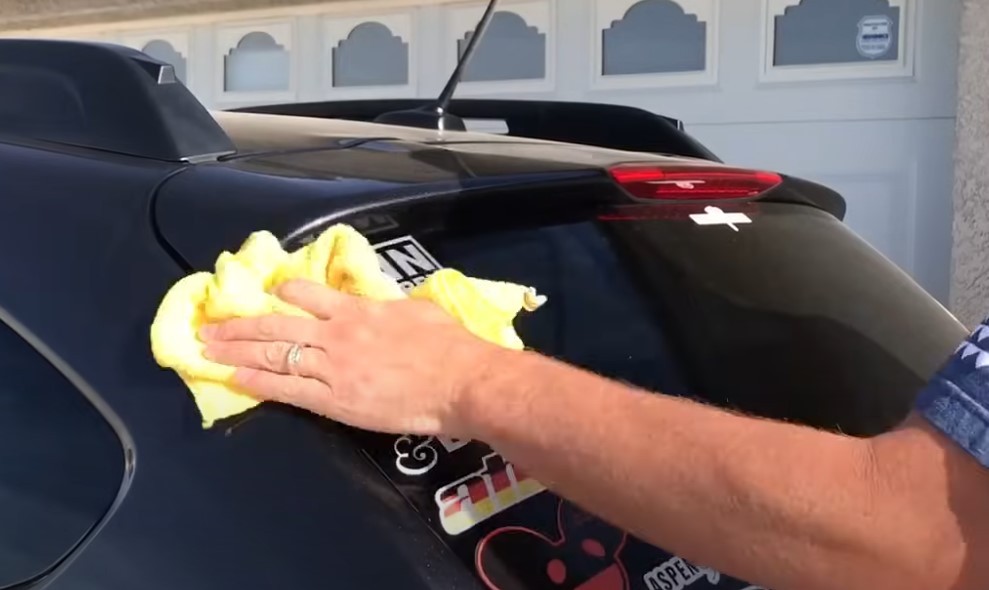
Final Clean-Up
Once the sticker is finally gone, you’ll want to give the window a final clean-up to remove any remaining residue. Use your window cleaner to wipe down the entire area, and give it a final polish with a microfiber cloth for that streak-free shine.
Trust me, after all that scraping and heating, it’s pretty satisfying to see the window sparkling clean again.
Prevent Future Sticker Issues
Now that you’ve gone through the effort of removing a sticker, you might want to consider making future removal easier:
- Opt for removable stickers: Some decals are designed to peel off without leaving any sticky mess.
- Place stickers on the inside: If possible, stick them inside the window. They’ll be easier to remove since they’re not exposed to the elements.
- Use a protective film: You can apply a clear adhesive film to the window first, then stick the decal on top. When the time comes to remove it, the film peels off with the sticker, leaving no mess behind.
Wrapping Up
Removing stickers from a car window can take a bit of patience and elbow grease, but with the right tools and techniques, you can get the job done without a hitch.
If you go with the razor-and-alcohol method, soap and water, or a DIY vinegar paste, it’s all about working smarter, not harder. Just stay patient, and you’ll have your car window looking good as new in no time.