
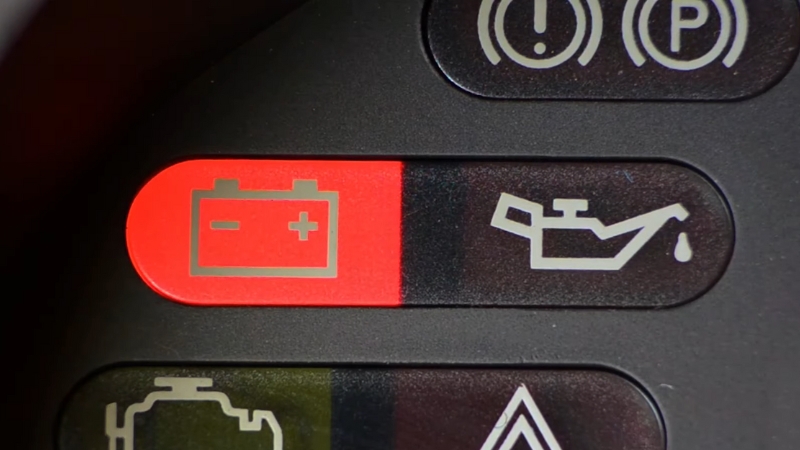
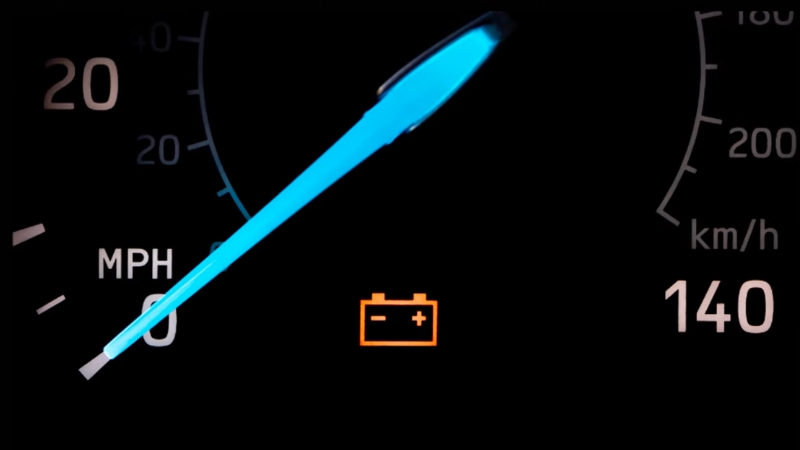
You’ve just bolted in a new alternator, tightened the belt, and turned the key with a sense of relief. Yet the red battery icon still glows. It’s one of those moments where frustration creeps in fast. After all, the alternator is new. Why hasn’t the warning gone away?
The short answer: that little light is smarter than it looks. It watches the entire charging ecosystem, not only the alternator.
A weak battery, a corroded cable, a control module fault, or a failed sensor can all keep that lamp lit. In other words, the alternator might be fine, but the system as a whole still needs attention.
Let’s break down the reasons, the real-world numbers, and the practical steps that reveal what’s actually happening.
Two Common Charging System Designs
Most cars on the road today fall into one of two main charging setups, each with its own quirks. Knowing which type you’re working with helps you read that stubborn battery light and choose the right next step.
Traditional Internally Regulated Alternators
On older vehicles, the ignition switch feeds the indicator bulb, which feeds the regulator’s sense terminal. Once the alternator spins and self-excites, internal diodes backfeed that circuit, and the lamp goes out because the voltage equalizes.
If the exciter circuit is open, the lamp stays on, or the alternator never begins to charge. Bosch service literature calls this the D+ lamp circuit.
Smart or Computer-Controlled Charging
Modern systems modulate alternator output to extend battery life and save fuel. GM’s Regulated Voltage Control (RVC), for example, varies system voltage between about 12 and 14 volts depending on temperature and state of charge, as per the Motor.
Ford’s Smart Charge uses command and monitor lines to control the field duty cycle and confirm feedback. If those lines report bad data, the lamp sets.
Quick Checks Before You Grab More Tools
Here’s a short hit list to run through right away:
- Measure alternator output at idle with headlights and blower on. Most conventional systems should show about 13.5 to 14.8 volts. Smart systems may sit lower by design.
- Inspect high-amp fuses or fusible links. A blown fuse isolates the alternator from the battery, even if the alternator is producing power.
- Look at the belt system. A weak tensioner or a failed overrunning alternator pulley (OAP/OAD) can cause slip, low output, and a persistent lamp.
- Load-test the battery. A severely sulfated battery can drag system voltage down even with a healthy alternator.
Those steps can rule out obvious faults before deeper testing.
Why a Brand-New Alternator Isn’t Always the Hero

Sometimes a fresh alternator isn’t the magic fix you hoped for. The charging system depends on more than just one component, and even a brand-new unit can struggle if the wiring, battery, or sensors aren’t up to the task.
Voltage Drop in the Cables or Grounds
If the alternator makes power but loses too much voltage between the alternator B+ stud and the battery, the controller “sees” low voltage and lights the indicator.
Likewise, a poor ground between the alternator case and the battery negative can do the same.
DENSO’s voltage drop spec: at about 2,000 rpm with major loads on, the drop should be 0.2 volts or less on both positive and negative sides. Anything higher points to corrosion, loose fasteners, or damaged cables.
Blown Alternator Fuse or Fusible Link
Some vehicles use bolted mega fuses in the underhood fuse box. A blown element isolates the alternator from the battery.
You can see 14 volts at the alternator, but still have a battery light because the battery itself isn’t being charged. Always verify continuity with a meter, not just a visual peek.
Incorrect or Weak Excitation
On traditional systems, the indicator bulb circuit provides the exciter feed that starts the alternator. If that circuit is open, the alternator may not excite or the lamp may not behave normally. A bad exciter bridge inside the alternator can also cause strange lamp behavior.
Smart Charging Communication Faults
On Ford Smart Charge, GENCOM and GENMON lines carry command and feedback between the PCM and alternator. On GM with RVC, a control module manages output based on battery state and temperature.
If those lines are open, shorted, or the battery monitor is lying, the controller will flag a charging fault.
Battery Monitoring Sensors and Resets
Late-model vehicles often use a battery current sensor on the negative cable to estimate the state of charge.
If the sensor fails or the system isn’t reset after a battery service event, the charging strategy can be wrong, and the lamp can persist. BMW and Ford both require a reset procedure after replacing the battery.
Belt Slip and Overrunning Pulley Failure
An alternator can test good on the bench yet undercharge on the car if the belt can’t transfer torque.
A tensioner arm that jitters or a chirp at startup can point to a failed decoupler. Gates’ technical bulletins explain how to spot those clues.
Diode Ripple and Noisy Output
A failed rectifier diode lets AC ripple ride on the DC line. That can light the battery lamp, flicker lights, or confuse modules.
Screen for ripple with a digital multimeter set to AC volts at the battery posts. Fluke’s 88V manual considers less than about 0.5 volts AC acceptable at the alternator B+. High ripple means a bad diode or stator.
A Structured Diagnostic Flow

Before grabbing more parts or guessing, it helps to slow down and work through the problem in order.
A structured diagnostic flow keeps you from missing easy fixes and shows you exactly where the charging system is falling short.
Step 1: Baseline the Battery
- Fully charge the battery, then load-test it with a dependable tool like the ANCEL BA101 battery load tester.
- Record resting voltage after an hour with the car asleep.
- If your vehicle uses a battery sensor or requires “registration,” complete that before going further.
Step 2: Verify Alternator Output on the Car
- Measure the voltage at the battery with the engine idling, lights, and blower on.
- Raise rpm to 2,000.
- On conventional systems, expect mid-13s to mid-14s. Smart systems can float lower by design.
Step 3: Perform Voltage Drop Tests
View this post on Instagram
- Positive side: alternator B+ stud to battery positive post. Target about 0.2 volts or less at 2,000 rpm with big loads on.
- Negative side: alternator case to battery negative post. Target about 0.2 volts or less.
Anything higher means clean, tighten, or replace the affected cable.
Step 4: Inspect Protection and Drive Hardware
- Check the high-amp alternator fuse or fusible link continuity end to end.
- Inspect the belt, tensioner, and alternator pulley. Look for arm flutter, glaze, or contamination.
Step 5: Screen for Ripple
- Meter on AC volts, leads across the battery, idle with major loads on.
- Anything approaching a few tenths of a volt AC is suspect.
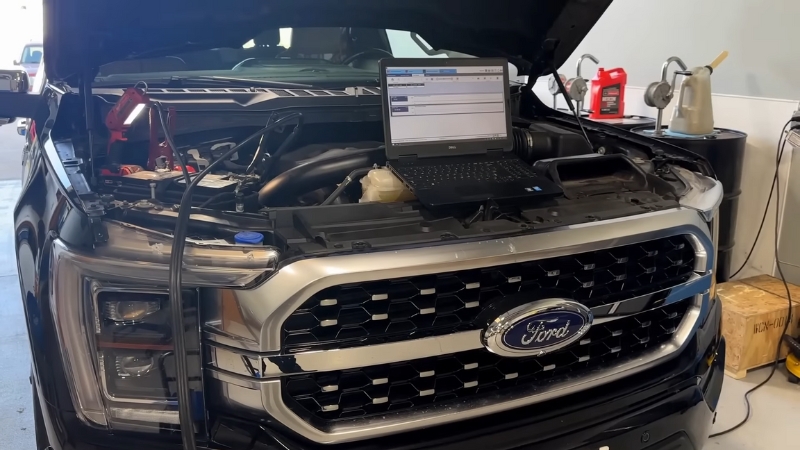
Step 6: Deal with Smart Charging Specifics
- Ford Smart Charge: check alternator command and monitor circuits, verify battery current sensor data, and perform a BMS reset after battery replacement.
- GM RVC: confirm mode changes with a scan tool and inspect the battery temperature input and sense wiring.
- European systems with battery registration and IBS: complete an energy diagnosis and correct software or sensor issues.
Common Reasons the Light Stays On After an Alternator Swap
Likely Cause
Why It Keeps the Lamp On
What to Test First
Blown alternator fuse or fusible link
Alternator output cannot reach the battery
Continuity across the high-amp fuse; verify power on both sides
High voltage drop on B+ or ground
Corroded or loose cables reduce delivered voltage
Positive and negative voltage drop tests at 2,000 rpm with loads
Failed OAP or OAD decoupler
Belt slip prevents full alternator output under load
Visual belt and tensioner check; spin and lock tests
Ripple from bad rectifier diode
AC rides on DC, modules see noise and set warnings
AC ripple test with DMM or scope, compare to Fluke guidelines
Smart charging communication fault
Command or feedback missing
Scan for charging codes; verify wiring integrity and sensor data
Bad battery or unregistered new battery
Battery drags system voltage or logic is wrong
Proper load test; program new battery if required
Open or weak exciter circuit
Alternator never initiates charge or lamp circuit misbehaves
Check lamp feed and regulator terminal voltage
Real-World Examples to Calibrate Expectations
- Voltage that “looks low” but is normal: A late-model GM truck shows 12.5–13.1 volts during cruise and pops to mid-14s with headlights on. That’s typical RVC behavior.
- BMW overcharging after an alternator swap: A bad Intelligent Battery Sensor or incorrect battery state of charge led to overcharge complaints even with a healthy alternator. The fix was IBS replacement or software updates plus an energy diagnosis.
- Alternator charging on the bench but not on the car: With a blown mega fuse, the alternator hits 14.5 volts at its B+ post while the battery sits at 12.3 volts. The lamp stays on because the battery never sees charge current.
Hands-On Test Procedures You Can Do at Home

Sometimes, the simplest checks in your own driveway can reveal more than an expensive shop visit.
With a few basic tools and a little patience, you can run quick tests that pinpoint why the battery light is still glowing.
Battery Load Test the Right Way
- Charge the battery fully with a smart charger.
- Use a load tester that draws about half the CCA rating for 15 seconds.
- Voltage should stay above the tester’s pass threshold. If it fails, replace the battery and perform any required registration or BMS reset.
Voltage Drop Test
- Warm the engine, turn on high beams, rear defogger, and blower.
- Positive side: alternator B+ to battery positive. Note drop.
- Negative side: alternator case to battery negative. Note drop.
- Anything much above about 0.2 volts indicates that cleaning or repair is needed.
Ripple Test with a DMM
- Meter on AC volts, leads on battery posts.
- Idle with big loads on. Healthy systems show a very small AC component.
- If you see a large ripple, dig deeper for a failing diode or stator.
Belt Drive and Pulley Check
- Look for belt glazing or contamination.
- Watch the tensioner for steady control rather than jitter.
- If equipped with an OAP or OAD, perform basic in-hand tests and listen for buzz at key-off.
Smart Charging Sanity Checks
- Scan for codes related to generator field control or battery monitoring.
- On Ford, validate GENCOM/GENMON and current sensor data. If the battery was replaced, carry out a BMS reset.
- On GM, know that 12–14 volts is normal, depending on RVC mode.
- On BMW and other European makes with IBS, follow the energy diagnosis plan.
Frequently Overlooked Root Causes
- Loose or painted ground under the alternator mounting ear.
- Aftermarket alternator pinout differences on smart systems, where the regulator connector looks right, but the logic is not compatible.
- Under-torqued B+ nut on the alternator stud that heats and oxidizes, causing intermittent voltage drop.
- The battery current sensor was installed backwards after a battery job.
- Water intrusion in the alternator from a recent coolant or oil leak.
- Accessory add-ons tied directly to the battery that confuse current sensing on vehicles with BMS or IBS.
When to Suspect the New Alternator Itself
- High ripple that rises with rpm is a classic rectifier or stator fault.
- No change in system voltage with rpm or added loads, even after confirming good cables, fuses, and belt.
- A hot case smell or grinding pulley points to internal bearing or mechanical failure.
Even quality units can fail out of the box. Use the tests above first so you can return them with evidence if needed.
A Practical Action Plan
- Charge and load-test the battery. Register or reset the BMS if required.
- Confirm alternator output and know your vehicle’s strategy if it is a smart system.
- Run voltage drop tests on both positive and negative sides. Fix anything above about 0.2 volts.
- Inspect and test the belt drive and overrunning pulley or decoupler.
- Check high-amp alternator fuses and fusible links for continuity.
- Screen for AC ripple and pursue diode or stator faults if elevated.
- Only then consider the alternator itself defective if the lamp persists.
Why It Pays to Be Systematic
@rbgaragevideosSwapped the alternator and it did magically resolve the battery light, beyond me to figure out how the failure occurred, I’m not an engineer
Most charging complaints are solvable without guesswork. A structured diagnostic path reveals whether the problem is wiring loss, a communication fault, a belt drive issue, or a bad unit.
Given how many roadside calls still come down to charging and batteries, investing one hour in the tests above can save a tow, a second alternator bill, and a lot of grief.
If you’d like, you can even turn this checklist into a printable worksheet with boxes for each step and space for recorded voltages. That way, you’ll have a clear record of what you’ve already tested.