If you’ve ever had that pesky check engine light pop up on your dashboard or found yourself struggling to pass an emissions test, there’s a chance your charcoal canister is to blame. But don’t worry, it’s something you can tackle at home with a little know-how.
Today, I’ll guide you through the process of cleaning your car’s charcoal canister and help get things back in order. Cleaning your charcoal canister can make a big difference.
It plays a key role in trapping fuel vapors and preventing them from leaking into the air, which is crucial for your car’s performance and the environment. For anyone who’s not a car buff, let’s start with the basics.
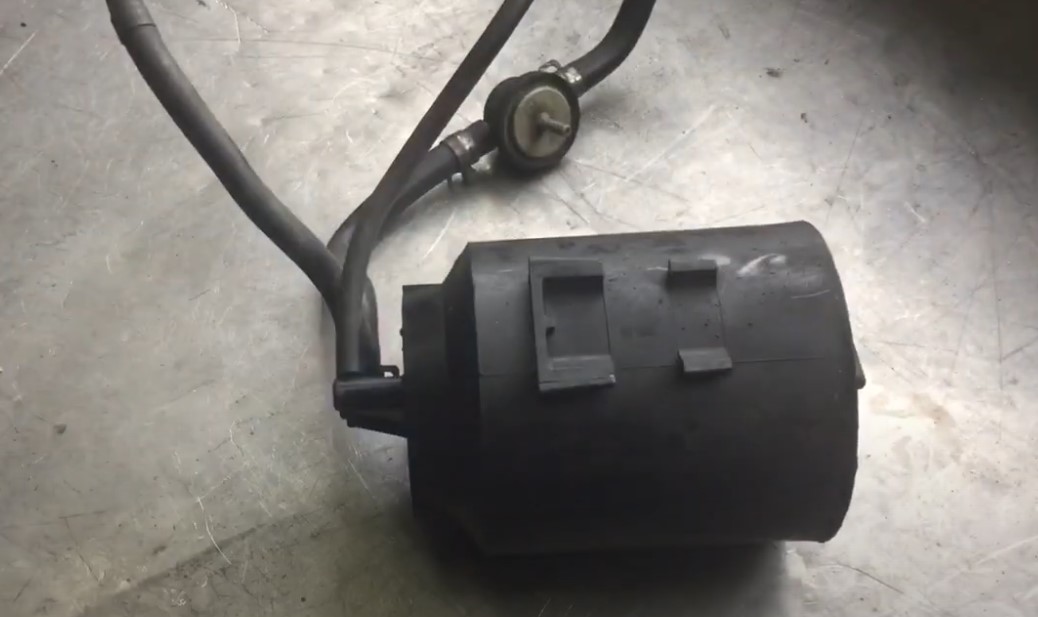
The charcoal canister, sometimes called a vapor canister, is part of your car’s evaporative emissions control system (EVAP system). It traps harmful fuel vapors from your gas tank, which otherwise could sneak out into the atmosphere.
Inside the canister is activated charcoal, which absorbs the vapors when your engine is off. Then, once you start the car, those trapped vapors are purged and sent to the engine to be burned off.
But over time, the canister can become clogged or the charcoal can get saturated, reducing its ability to trap those vapors.
When that happens, your engine light might flick on, or you might notice other symptoms like poor engine performance or an odd gas smell. Not ideal, right?
Tools and Materials You’ll Need
Before we go into the steps, let’s make sure you have everything needed to get the job done:
- Air compressor (40-50 psi)
- Flat-head screwdriver
- 3/8-inch drive socket set with ratchet
- Air blower nozzle with a rubber tip
- Safety glasses (super important!)
Once you have all this in hand, you’re ready to get started.
Step-by-Step
1. Find the Canister
Start by locating the canister. Typically, you’ll find it somewhere in the engine bay, but its exact spot depends on your vehicle’s make and model.
Your car’s manual should point you in the right direction. Once you spot it, take note of where all the pipes and connections are because you’ll need to reconnect them later.
2. Disconnect the Canister
Time to remove the canister. Using a flat-head screwdriver or socket wrench, carefully disconnect the pipes.
There’s usually three pipes on top and one at the bottom.
3. Set Your Air Compressor
Next, set your air compressor to 40-50 psi. It’s crucial not to exceed this pressure because higher settings could damage the canister. You want just enough pressure to clear the debris without doing any harm.
4. Clean the Canister with Compressed Air
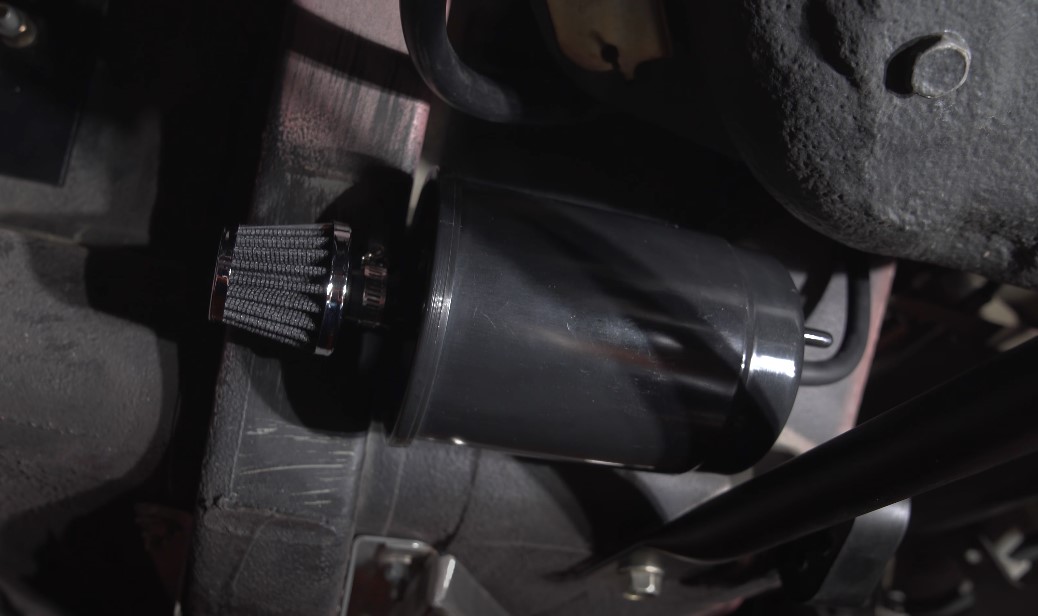
Now for the main event! Grab your air blower nozzle and place it into the largest pipe, usually the vent control valve. Use your fingers to seal off the other openings.
Hold the canister steady and apply compressed air for about one to two minutes. This should force out the debris and clear any fuel vapors that are trapped inside.
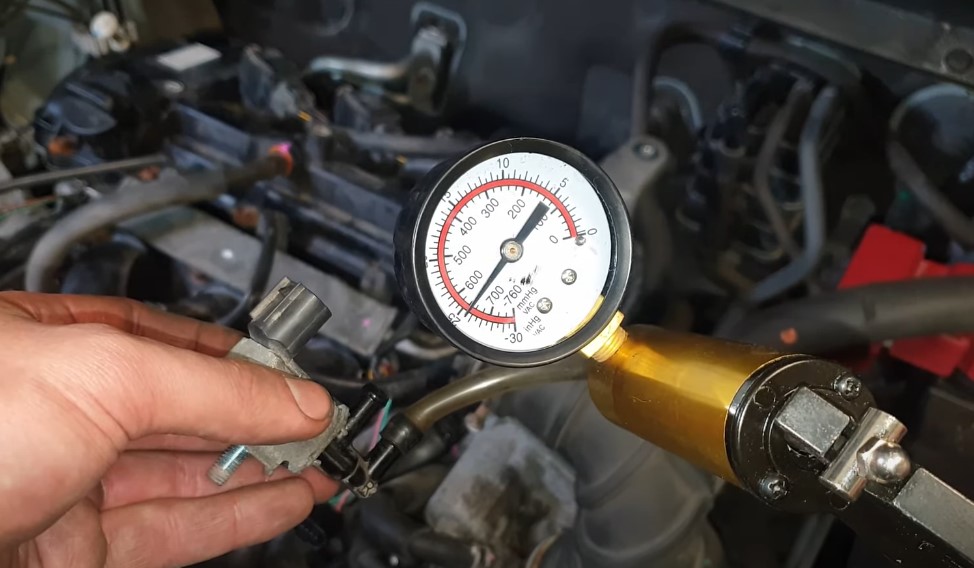
5. Check the Airflow
After cleaning, it’s time to check that everything’s flowing freely. You can do this by applying air to the canister again while feeling for airflow from the bottom pipe.
If air exits smoothly, you’re in good shape. If not, you might need another round of cleaning, or the canister could be too far gone and need replacing.
6. Reinstall the Canister
Once everything’s clean and functioning, it’s time to reconnect the canister. Be sure all the pipes are securely reattached to their original spots, and tighten any clamps as needed. After that, you’re good to go!
When Cleaning Doesn’t Work
Sometimes, no amount of cleaning will get your canister back in shape. If it’s still clogged or damaged after your best efforts, it might be time to replace it. Some of the signs that your charcoal canister is beyond cleaning include:
- Persistent check engine or maintenance light
- Poor airflow after cleaning
- Cracked or broken valves
If your canister falls into any of these categories, a replacement is the way to go. Also, newer vehicles—especially those from the 2000s onward—often have more complex EVAP systems, meaning a simple clean might not cut it. For these cars, replacing the canister is often recommended. Also, remember to replace coolant regularly.
Common Problems Linked to a Faulty Charcoal Canister
So, what are the signs that your charcoal canister is acting up? Here’s a quick rundown of some symptoms to keep an eye on:
- Check Engine Light: When the EVAP system detects an issue, the engine light comes on. A clogged or faulty canister is a common culprit.
- Failed Emissions Test: A canister that’s clogged or damaged can’t properly trap fuel vapors, leading to higher emissions and a failed smog test.
- Rough Engine Performance: When the purge valve inside the canister isn’t working right, fuel vapors don’t get sent to the engine efficiently, which can cause rough idling or trouble starting.
- Gasoline Smell: If there’s a gas smell coming from around your vehicle, that could be a sign that the vapor lines are leaking or the canister itself is cracked.
Safety Tips to Keep in Mind
Now, cleaning a charcoal canister isn’t rocket science, but safety should always come first:
- Wear Safety Glasses: You’ll be working with compressed air, so wearing safety glasses will help protect your eyes from debris or any unexpected bursts.
- Avoid Using Liquids: Never use water or any liquid to clean the canister. The charcoal inside can be ruined by moisture, which makes the canister useless.
- Check for Signs of Failure: If your car’s showing symptoms like a check engine light or a gas smell, don’t ignore them. Sometimes cleaning won’t solve the problem, and you’ll need to get a replacement.
Final Thoughts
Cleaning your car’s charcoal canister is one of those tasks that seems daunting at first but can be quite satisfying once you get the hang of it. Keeping it clean will not only help your car run smoothly but also reduce your emissions and keep the environment a little healthier.
But, don’t hesitate to reach out to a mechanic if you’re unsure about cleaning or suspect that your car’s EVAP system might be too complex for a DIY job.
After all, regular maintenance can save you from more costly repairs down the road. In the end, staying on top of things like the charcoal canister can really make a difference for your car’s performance—and your peace of mind!
So, go ahead and give it a clean, and see if your engine light decides to cooperate again.